Concept Development • Digital • Design and Build • Themed Entertainment
Interactive story experience: The disappearance of Daniel Price
I’ve always had a passion for telling stories and creating experiences through technology. Therefore, I decided to make a story-driven passion project. Throughout writing the story, designing the puzzles and developing the hardware and software, this initial idea took shape in The disappearance of Daniel price.
The starting point for this project was this vague idea of having an escape-room-like experience, but more focused on story rather than puzzle solving speed. In this article I’m detailing the phases that went into this project, ranging from ideation to user testing.
The main concept
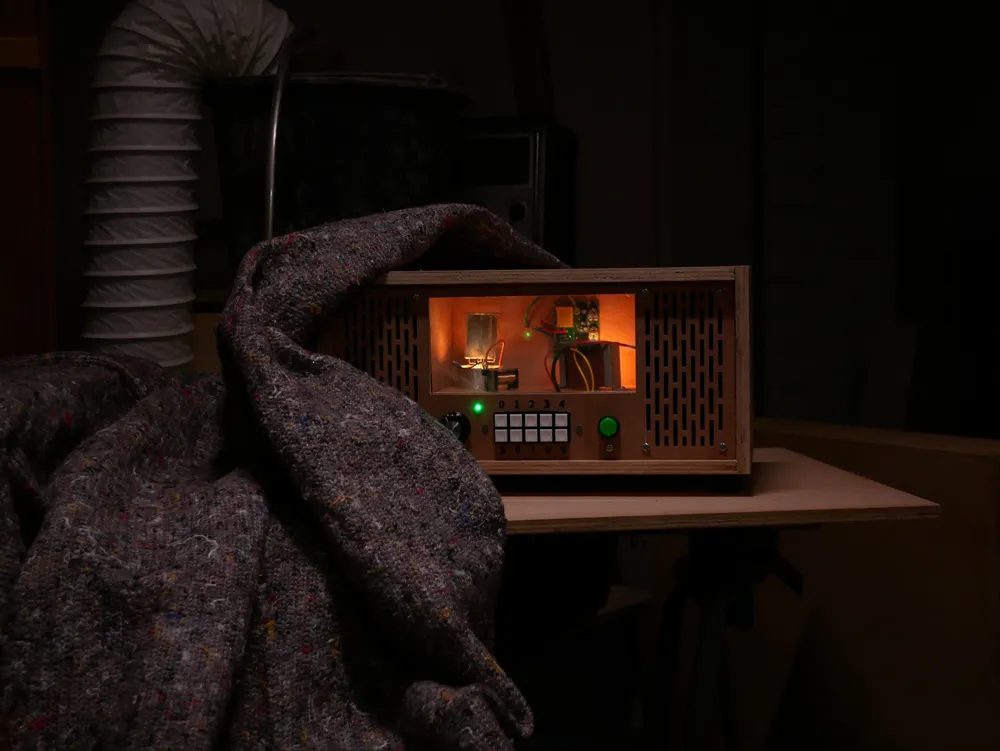
The experience centers around Daniel Price’s disappearance over 30 years ago. The players get access to Daniel’s old radio, which turns ut to be an audio logbook, where each recording is protected with a code. These codes can be found in “artefacts” from within the story, such as letters and drawings. The artefacts provide a nice platform to give the story (world) more depth and give players a chance to gain a deeper understanding of the story. Each audio log also uncovers a new part of the story.
Writing the story & designing the puzzles
The majority of the time spent on this project went into conceptualizing/writing the story and creating the puzzles.
Story
My main guiding principles when writing the story were as follows:
- Without conflict, there is no story.
- Why should the audience care about this or be interested, what’s at stake here?
- Your first ideas usually aren’t the best, constantly force yourself to think of alternative scenarios and possibilities. Either something better will come up, or it will validate your first idea.
When writing the story, I referenced the book “Story”, by Robert McKee a lot, which provided some useful techniques and theory. For a large part of the story, I also wrote fairly extensive backstory. The majority of this backstory is not presented to the players or essential to understanding the main story, but it helped me to make “realistic” and cohesive choices in the story writing process.
After every few script revisions, I produced the audio versions of the script, including sound design. This allowed me to test the script and also, after many revisions, end up with the audio content for the final product.
Part of a puzzle from early on in the story.
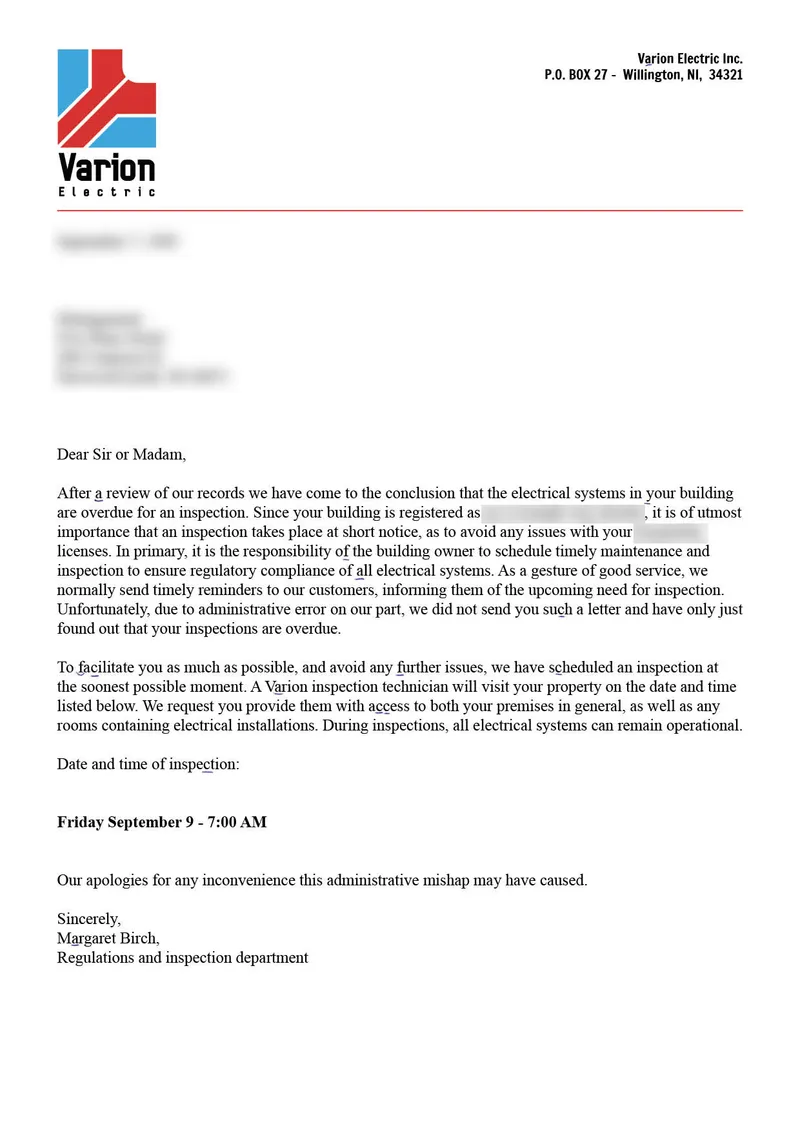
A puzzle from halfway through the story, with some spoilers blurred out.
Puzzles
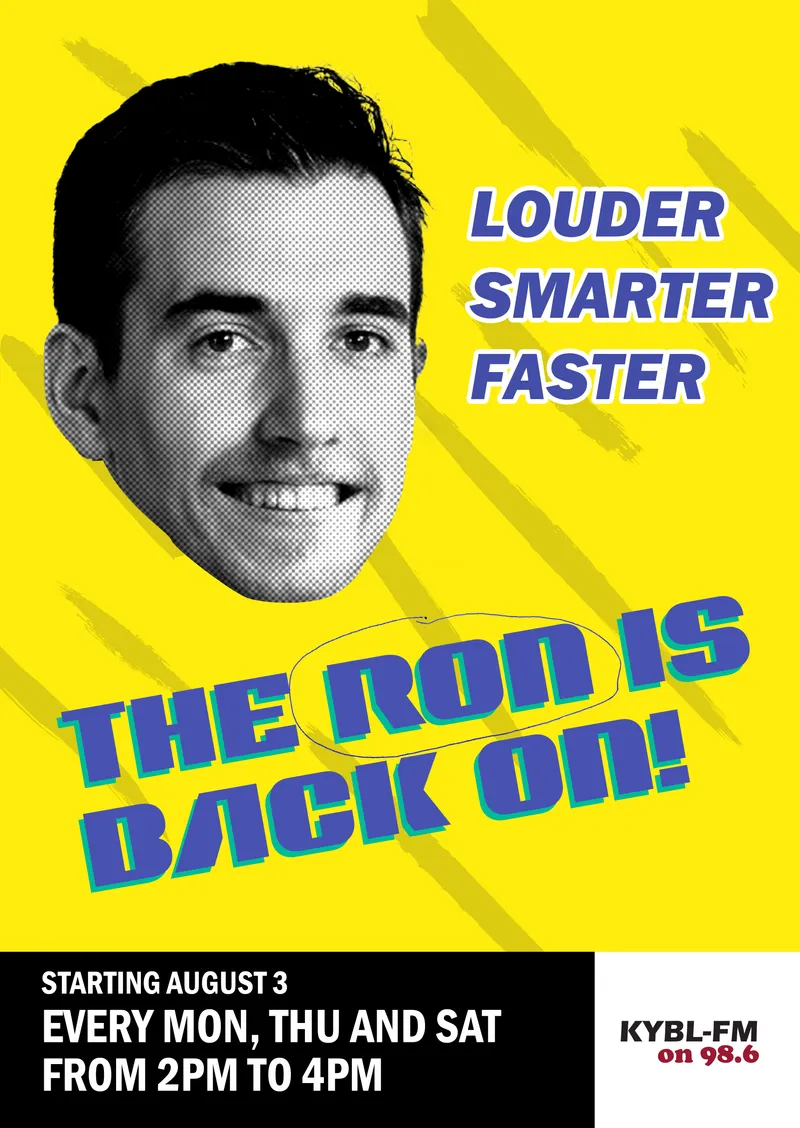
When it came to puzzle design, the project hardware played a determining role in what puzzles could be made. To keep the project scope manageable, I chose to only work with numerical input on the radio . The puzzles were designed in such a way that they become increasingly more difficult as the story progresses, increasing the number of required thinking steps. Furthermore, the puzzles also “teach” the player about the rules of the game. For example, the very first puzzle teaches the player that the backside of a piece of paper can contain useful info as well. At the same time, some puzzles look similar to earlier puzzles, but differ in their way of solving, providing a nice little subversion of player’s expectations. In total I designed and produced eleven puzzles, some of which are also interconnected. To make the puzzle pieces aesthetically feel as if they would fit in the story time period, I also did research into fonts, names and design styles of that era.
Both the story and the puzzles underwent many revisions throughout building and testing.
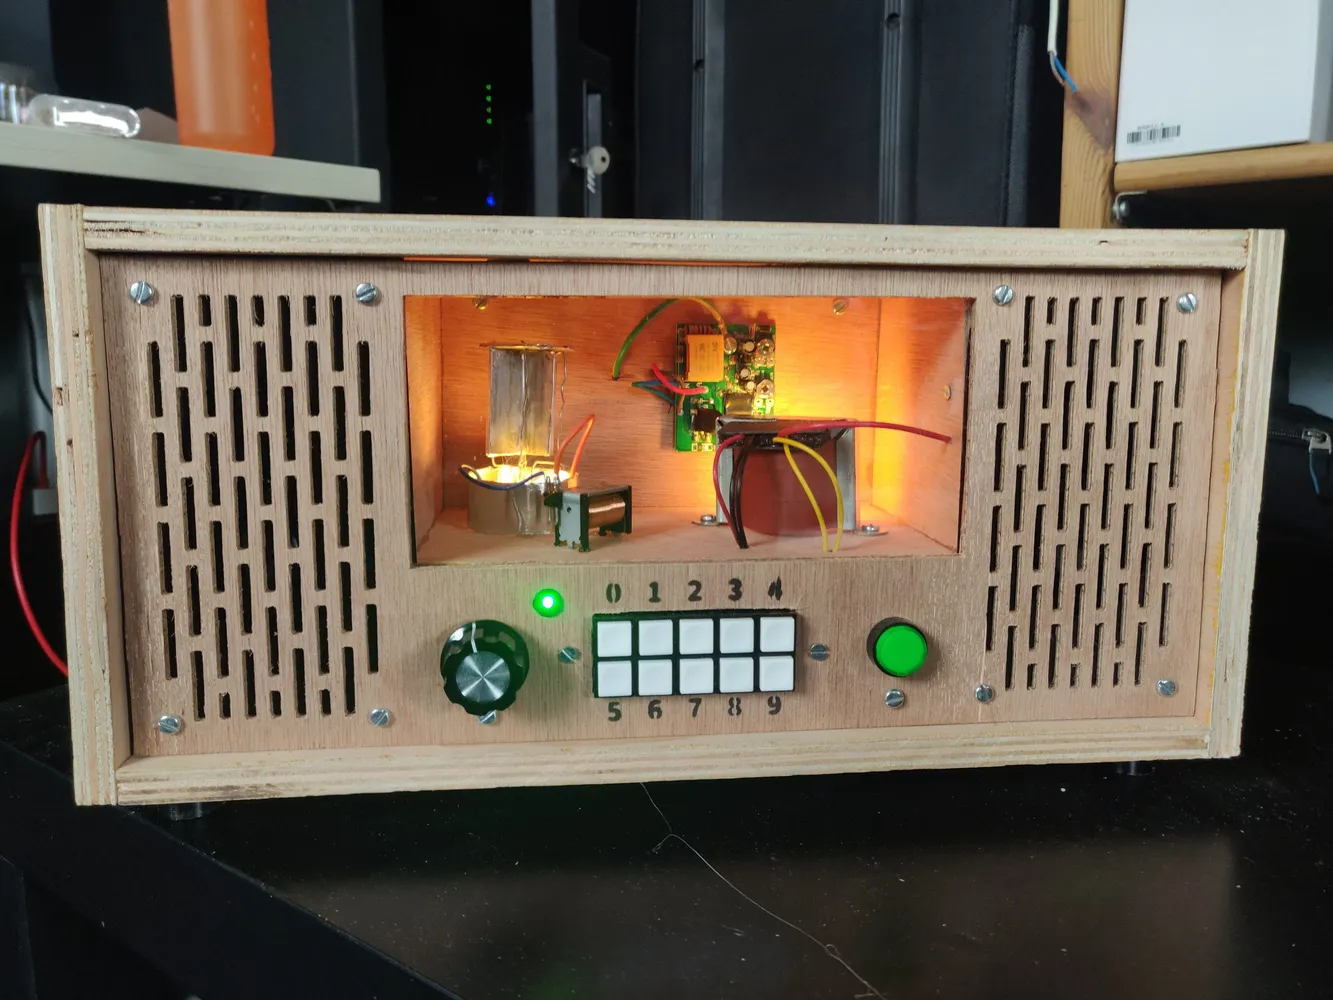
Hardware & Software development
This was the most elaborate Arduino project I had taken on thus far, so it posed a fun learning challenge for me. To keep things structured, I first designed the electronics on paper, as this would dictate the software structure. Both the hard- and software were designed with expansion and flexibility in mind. The system can therefore relatively easily be adapted to more elaborate future projects. The system consists of three Arduino Nano type microcontrollers, an MP3 player board and an amplifier board.
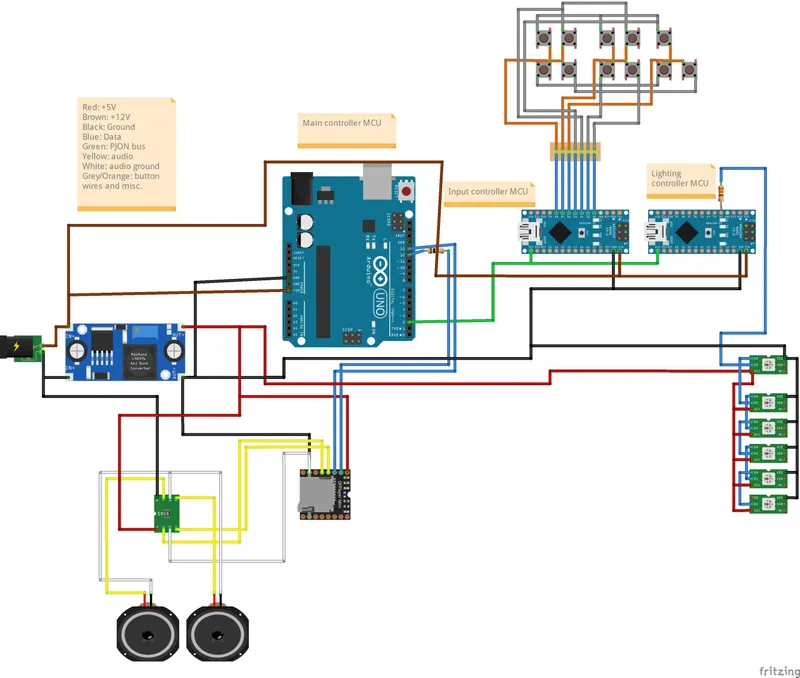
The initial circuit design which used an Arduino Uno as the main game controller. The design did change in later revisions.
Designing & building the radio
When it came to appearance, the radio didn’t have to look historically accurate, but I did want it to feel as if it was made by someone in the 70s / 80s. In the story, Daniel is the maker of the radio, which allowed me some more creative freedom than when it would have had to resemble a store-bought radio.
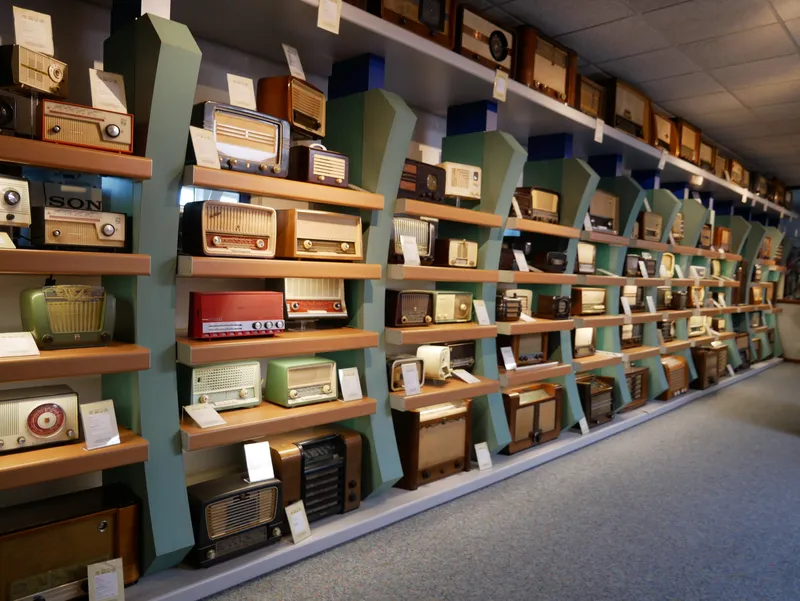
A small part of the Rotterdam Radio Museum’s collection.
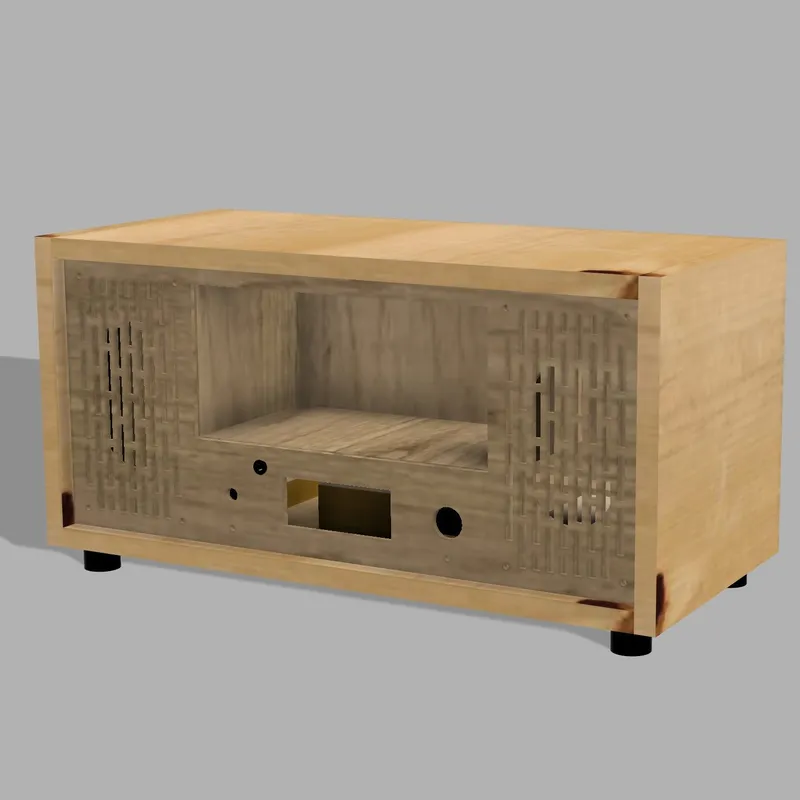
3D render of the radio chassis.
To get design inspiration I visited the Rotterdam Radio Museum. This visit proved to be quite influential for the final design. To visualize the radio and allow me to fabricate parts using my CNC machine and 3D printer, I designed 90% of the radio in Fusion 360, the remaining 10% was improv when building.
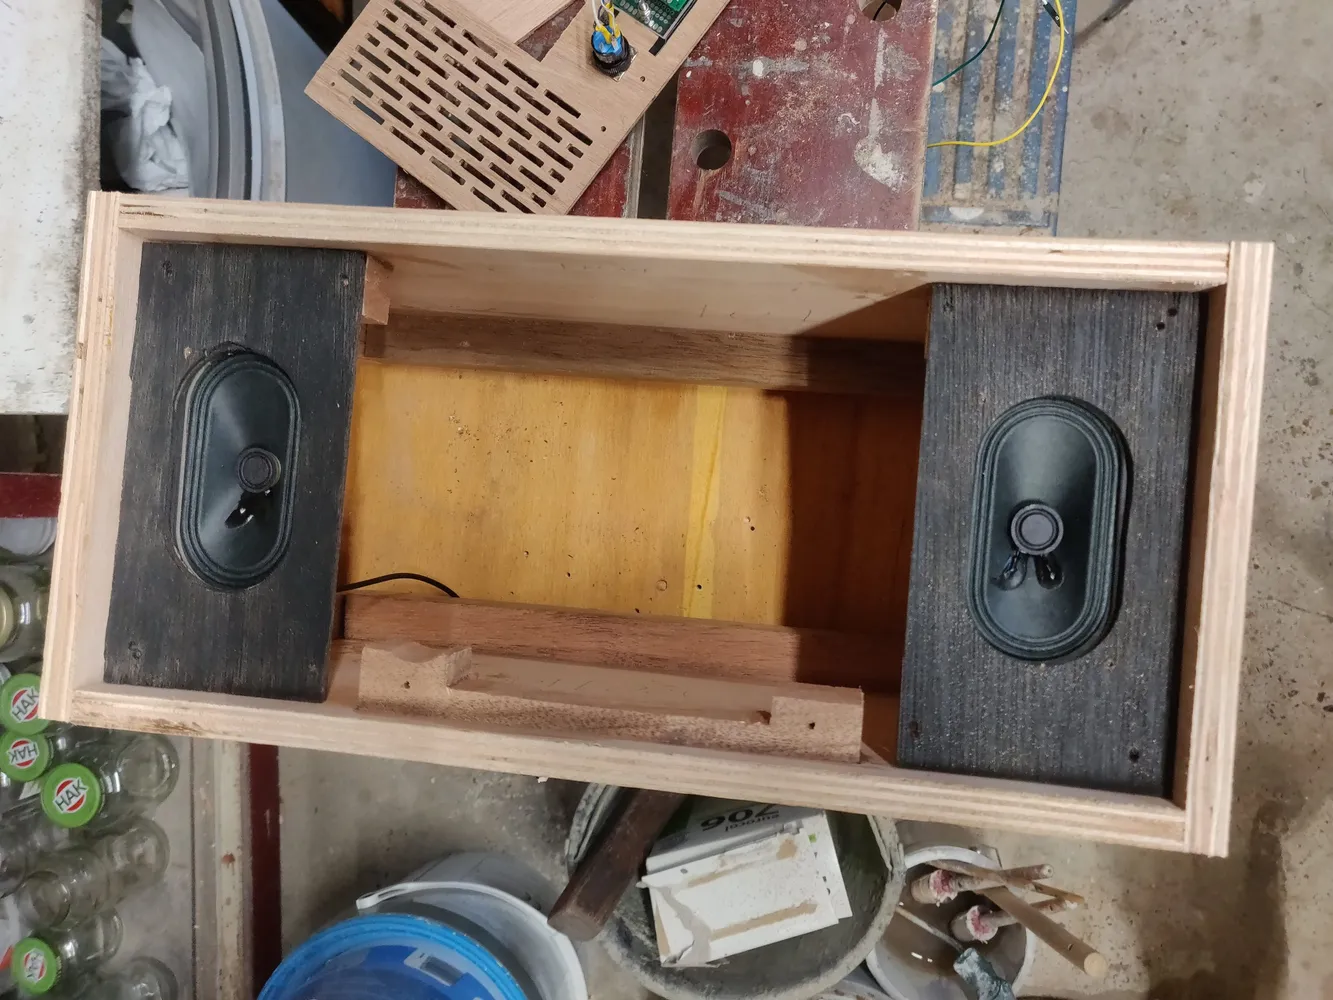
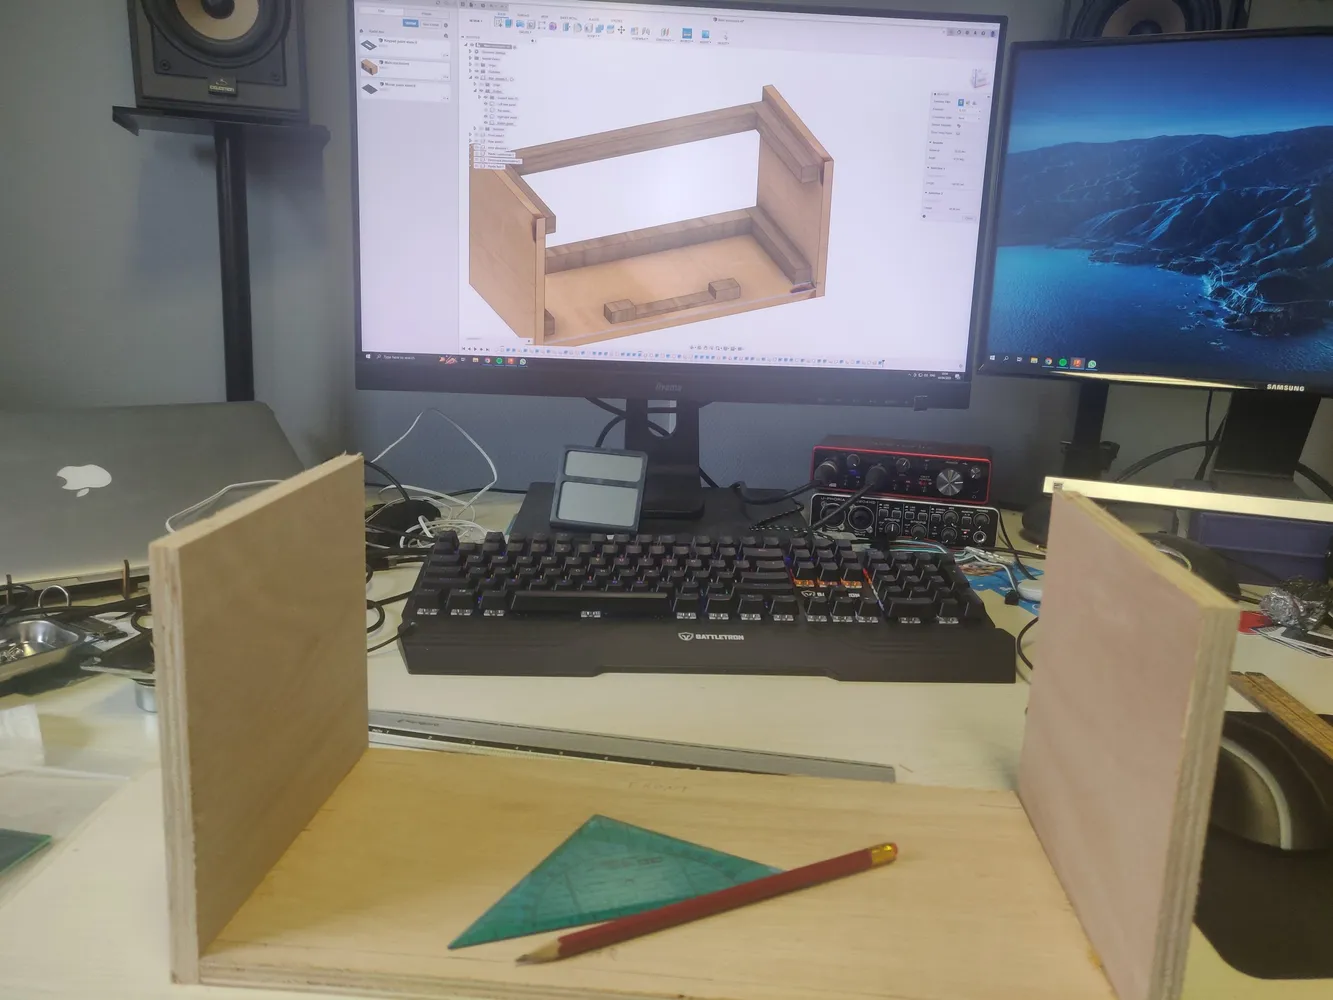
Making the wooden enclosure.
Testing
In any project, but especially a solo project, testing is essential. It allows you to verify your ideas and improve your product. Also just having someone else look at your work can make you see things you didn’t see before.
At the start of the project, I wanted to know if my global concept would even work. To test this I built a minimum viable product in the form of the “shoebox” prototype. Despite its minimal functionality, it allowed me to verify if the base concept worked before spending a lot of time on developing hardware, software and story content. This prototype was used for an initial testing session in which only the first part of the story was complete. The final testing sessions used the finished radio to test the full experience.
The way I went about testing was by using a Thinking Aloud Method, in which play testers said what they were thinking as they were playing, and I took notes and observed. After their play-through I would ask the testers a series of questions relating to what could be improved, what they enjoyed and what they understood of the story. This yielded various interesting findings, ranging from parts where game structure clarification was needed, to spotting opportunities where suspense could be increased.

The “shoebox” prototype.
Testing also verified my initial hunch that playing on/with a real physical device would provide a more enjoyable experience than if it were to be just digital.
Things I would do different next time
Looking at the project as it stands now, there are a few things I would do different if I were to make something like this again. These are based on my own thoughts and/or feedback from play testers.
More interaction with the radio
Adding other forms of puzzles, ones that interact more with the radio, would integrate the radio better into the experience and also make for a more diverse offering of puzzles, not just ones with a numerical outcome. Now that I am more comfortable with the hardware and software that went into this projects, more interaction types would definitely be feasible in future projects. The same goes for more “output” options, such as moving dials or physically having the device move.
Multiplayer and cooperation
The puzzles, in their current form, aren’t really designed for multiplayer use. It is very well possible for multiple people (max 3) to play at the same time and help each other to solve puzzles, but the puzzles themselves don’t demand any cooperation. If a project like this were to be made solely for the purpose of being a group activity, cooperation must be integrated into the puzzle designs.
Special thanks
With this project, various people have helped me and I would like to mention them here.
Play testers:
- Stefani
- Arnout
- Merel
- Esmee
- Rik
- Kevin
And my father for helping out with cutting some of the larger wood panels for the radio to size.